Browned Butter Chocolate Chip Cookies

Prep time: 15 minutes + 1 hour in fridge
Cook time: 9-10 minutes
These are the BEST Browned Butter Chocolate Chip Cookies!

☀️ INGREDIENTS:
✅ 225 grams Dark Chocolate, chopped into chunks (or 1 and 1/2 cups)
✅ 168 grams Unsalted Butter (or 3/4 cup)
✅ 225 grams All-Purpose Flour (or 1 and 3/4 cup)
✅ 3/4 teaspoon Baking Soda
✅ 3/4 teaspoon Salt
✅ 1 Egg + 1 Egg yolk
✅ 1 Tablespoon Vanilla Extract
✅ 200 grams Brown Sugar (or 1 cup)
✅ 50 grams Granulated Sugar (1/4 cup)
✅ 200 grams Chocolate Chips (milk or dark chocolate)
TO TOP THE COOKIES (after they bake in the oven)
✅ Roughly an additional 45 grams of Dark Chocolate (chopped into chunks) (1/4 cup)
✅ Flaky Sea Salt (a small sprinkling)

☀️ SPECIAL THINGS YOU’LL NEED:

Fun fact: Dark-colored baking trays can overcook your cookie bottoms because they absorb more heat in the oven than light colors… (kind of like the sun!)… so I always recommend using a light colored aluminium baking tray like this one because it reflects the heat of the oven better - meaning your cookies cook more uniformly!

My wonderful little website is reader-supported and to make things as helpful as possible, I’ve included direct Amazon affiliate links (which means at absolutely no extra cost to you I'll make a small commission if you happen to buy anything that sparks your interest by clicking on my links). Thank you for your support :)
☀️ METHOD:
1. On a cutting board, chop your dark chocolate into chunks and set aside.
2. Using a medium sized saucepan, brown the butter over a low/medium heat (stirring constantly until the butter begins to slightly foam and turn a golden brown colour). Make sure to only brown the butter lightly and take it off the heat to cool.

3. In a mixing bowl, mix together the flour, baking soda, and salt.
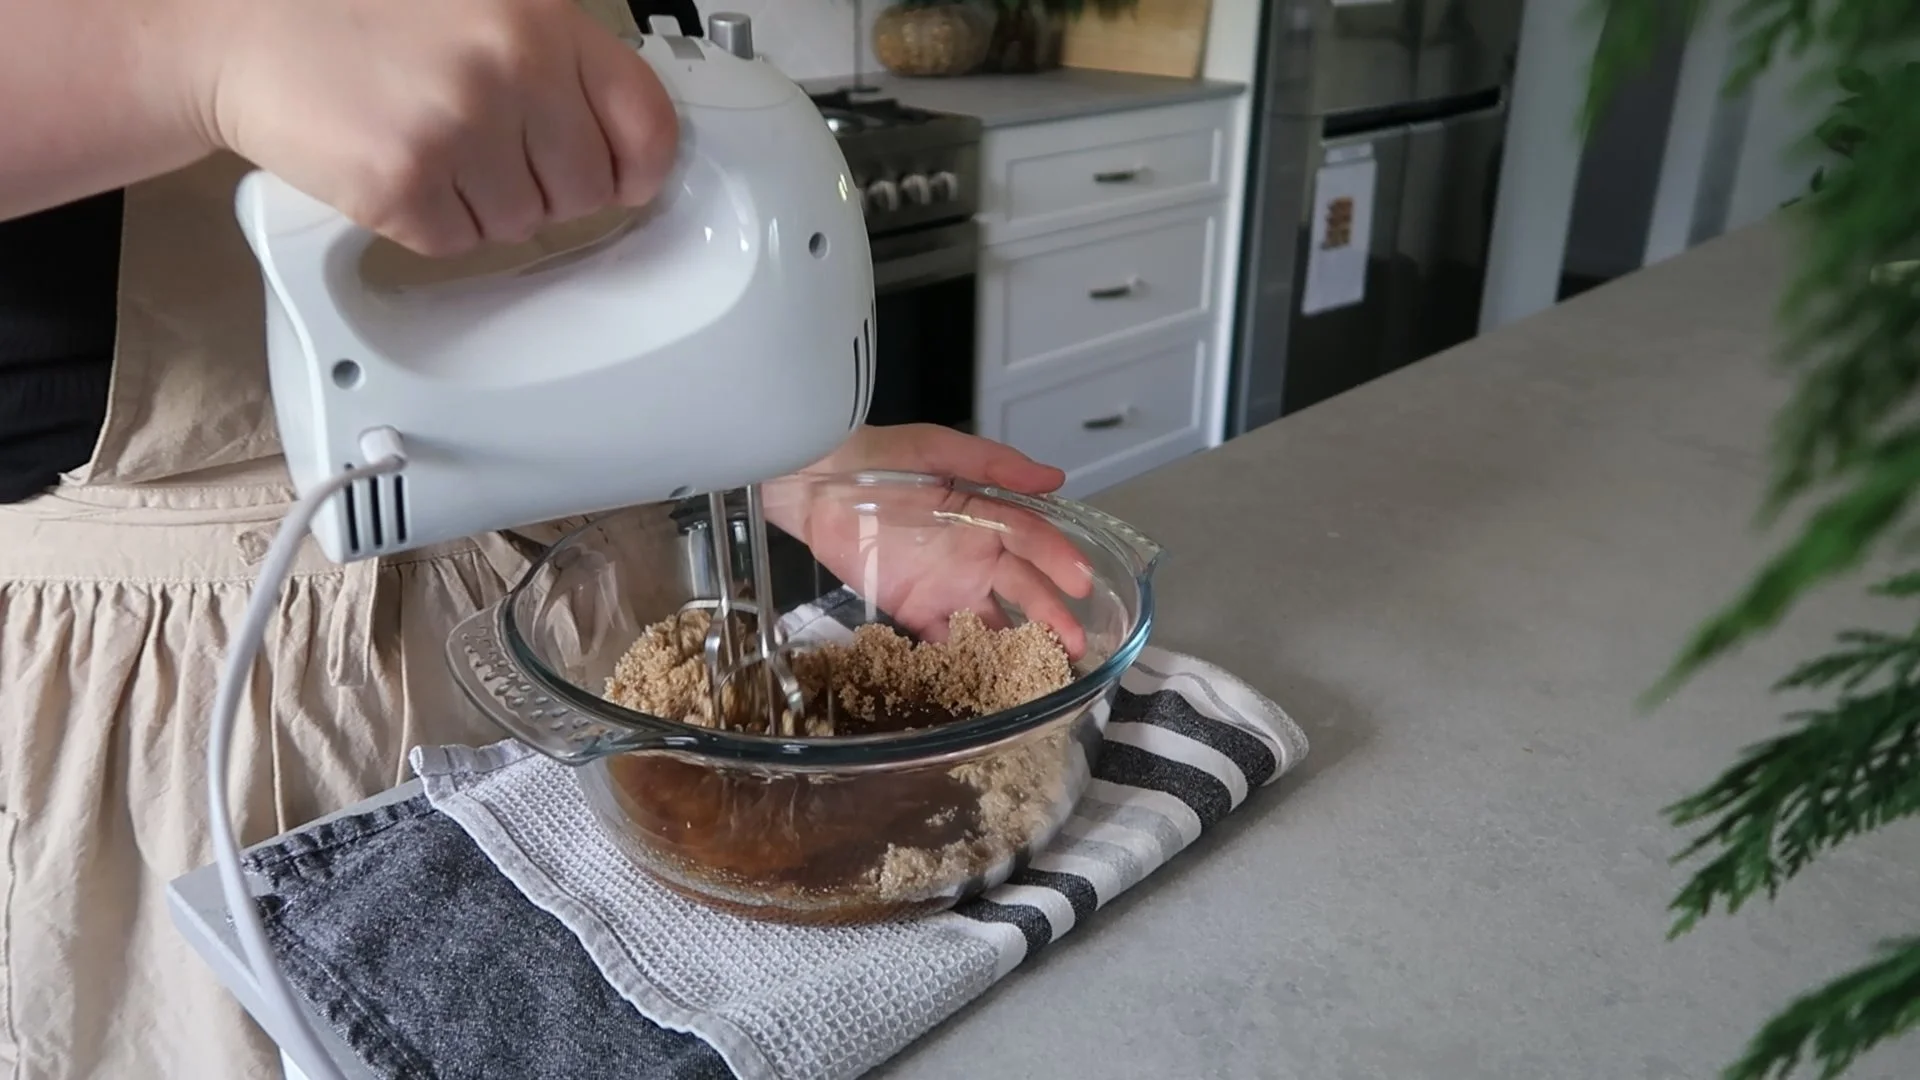
4. In a separate mixing bowl, beat the egg, yolk, vanilla extract, both sugars, and the cooled brown butter together until well combined.
5. Mix the wet ingredients and dry ingredients together, then fold in the milk/dark chocolate chips + dark chocolate chunks (be careful not to overmix).

6. Cover your cookie dough and pop it in the fridge for 1 hour to let the flavours ‘meld’. Note: This ‘marinating’ time in the fridge also ensures your cookies don’t spread out too fast when baking.
7. Preheat your oven to 170°C (338°F) and line a baking tray with a silicone baking mat (or unbleached baking paper).
8. Using a medium-sized cookie scoop, scoop the cookie dough out and place them on your lined baking tray (pssst… for a perfectly baked cookie, I always recommend using a light colored baking tray like this one - so you never overcook your cookie bottoms from dark colored trays again! #lifechangingcookiehack).

9. Bake for 9-10 minutes, or until the edges are just starting to turn golden but the centers still look a little underdone (the cookies will continue to cook when out of the oven and will firm up).
10. Strait out of the oven, carefully press some of the remaining chocolate chunks into the warm cookie. Wait for your cookies to cool down a little, sprinkle some flaky salt on top then enjoy!

If you’d like to unwind and watch a relaxing video of me making this delicious nom, check out my YouTube video here :)
Helpful Notes:
Question: Why are my cookies hard and dense (instead of soft and fluffy?)?
Answer: Weigh your ingredients using a digital kitchen scale and I PROMISE you’ll see a huge difference in your baking :) If you simply scoop out flour (for example) it can ‘pack down’ far too much in the cup and you might even accidentally use double the amount of flour required (which would be disastrous). If your cookies aren’t the soft delicious, mouth-watering cookies of your dreams, I always first suggest weighing every ingredient. I use this great rechargeable kitchen scale literally every single time I bake (and it’s been an absolute gamechanger for my baking).
Also, every oven is different and you might need to adjust your cooking time to suit your preferences for cookie-softness. I always recommend baking cookies for a little LESS than you think (like, if they look slightly underdone in the oven but their edges are starting to turn golden I’d pull them out asap) as they’ll continue to cook by themselves. Best of luck and feel free to reach out below if you need to troubleshoot any other possible culprits impacting your cookies. I want you to enjoy creating the BEST cookies possible! <3
Question: Why are my cookie bottoms overcooked? :/
Answer: The color (and material) of your baking tray is likely the culprit! When baking cookies, I always recommend using a light colored aluminium baking tray like this one because it reflects the light and heat of the oven - meaning your cookies cook more uniformly! Just like the heat of the sun is absorbed into dark colors more, trays work in a similar way (and can even overcook your cookie bottoms!). So I’d say stick to light colored cookie trays, if you want perfectly baked cookie bottoms! :)
Question: Can I make this vegan?
Answer: I’m sure you could vegan-ify this recipe with a few creative tweaks! Feel free to use any ‘faux butter/milk/chocolate/eggs’ alternatives you like. Use your favorite dairy-free options like Almond Milk (for example) and try replacing the egg with a vegan-egg replacement. Let me know how you go and perhaps I’ll try re-creating this vegan myself!
Question: How do I store the Biscoff Dark Chocolate Chunk Cookies? How long do they last?
Answer: Store cookies in an airtight container for up to 5 days. You can also freeze the raw cookie dough for up to 3 months (then bake for an extra 1-2 minutes when you’re ready to make them).
Question: Can I substitute the Dark Chocolate out for something else?
Answer: Yes, you sure can! Feel free to use your favorite chocolate! Milk chocolate or even white chocolate can be fun here!
Question: Can I make this Gluten Free instead?
Answer: I’m sure you could swap out the traditional wheat flour here and use your favourite gluten free flour instead! Feel free to use your gluten free chocolate of choice here also and let me know how you go. Gluten free flour varies considerably so I’m wishing you the very best of luck and will do a gluten free version of this recipe shortly! Stay tuned!
Question: What is the difference between ‘all purpose flour’ and ‘self-raising flour’?
Answer: All-purpose flour is also known as ‘regular flour’ or ‘plain flour’. It’s the flour that is the most common to find and the one most likely already lurking in your kitchen cupboard. It is made from wheat and the basic ingredient for most cooking and baking recipes. Whereas ‘self-raising flour’ is actually flour with baking powder/soda included - which gives it a ‘rising effect’ when cooked (it expands).
This cookie recipe uses ‘all-purpose flour’ and adds baking soda to ensure the cookies rise however if you just have ‘self-raising flour’ that’s fine too (just don’t add the baking soda).
Question: I don’t like one (or more) of the ingredients in this recipe - can I substitute ingredients out for something else?
Answer: Feel free to get creative and substitute out ingredients as needed here however it’s good to note that baking can be quite the science experiment and it might take a few attempts of you swapping in/out ingredients to achieve what you’re after creatively. I’ve perfected these little beauties so my personal cookie soft/chewy texture preference but feel free to go ahead and experiment if that’s what your heart desires. Google is a wonderful resource if you get stuck and don’t know what a good alternative would be to swap something for.
Connect With Me!
If you enjoyed this recipe, have any questions or want to chat, feel free to connect with me on Instagram @connorcarbonara! I’d love to hear from you!
Nutritional Info:
Counting calories and tracking macros works well for some people but for many others it can lead to obsessive tracking behaviours/disordered eating patterns (and often does more harm than good) - so I’ve made the personal decision to not post them because I never want my recipes to play a role or influence someone into unnecessary tracking/unhealthy views about food and calorie counting. I believe food is one of the best things this world has to offer and hope my recipes inspire you to get creative, have fun, and enjoy life to the fullest (surrounded by incredible food)!